While filling out the application form for KAUST, there were several options to choose from; environmental science, oceanography, ecology, genetics, and microbiology. From all the options, environmental science intrigued me the most.
In the environmental/plant science group, we had several workshops where we worked with four different PhD students/ postdocs from the same lab. During that time, we were able to learn a few things about plants and the how they are being studied and what kind of information the research can provide.
Sadly, I was not able to take pictures of every workshop I did. I was only able to take pictures of three workshops which were #2-4, but I will describe 1 as well.
Workshop #1
In workshop #1, we looked at a study done with the model plant, arabidopsis. Arabisdopsis is used because they know everything about the plant. In workshop #1, it focused on using confocal microscopy to attain images of different mutations such as jackdaw, scarecrow, and short-root. Each of the different mutation names signified a different type of mutation in a certain cell wall layer within a plant.
The particular postdoc wanted to study what gene causes changes within the roots and what is responsible for signaling lateral roots to grow. In order to that, he looked different mutations and tried to understand what happens when those variable changes.
Workshop #2
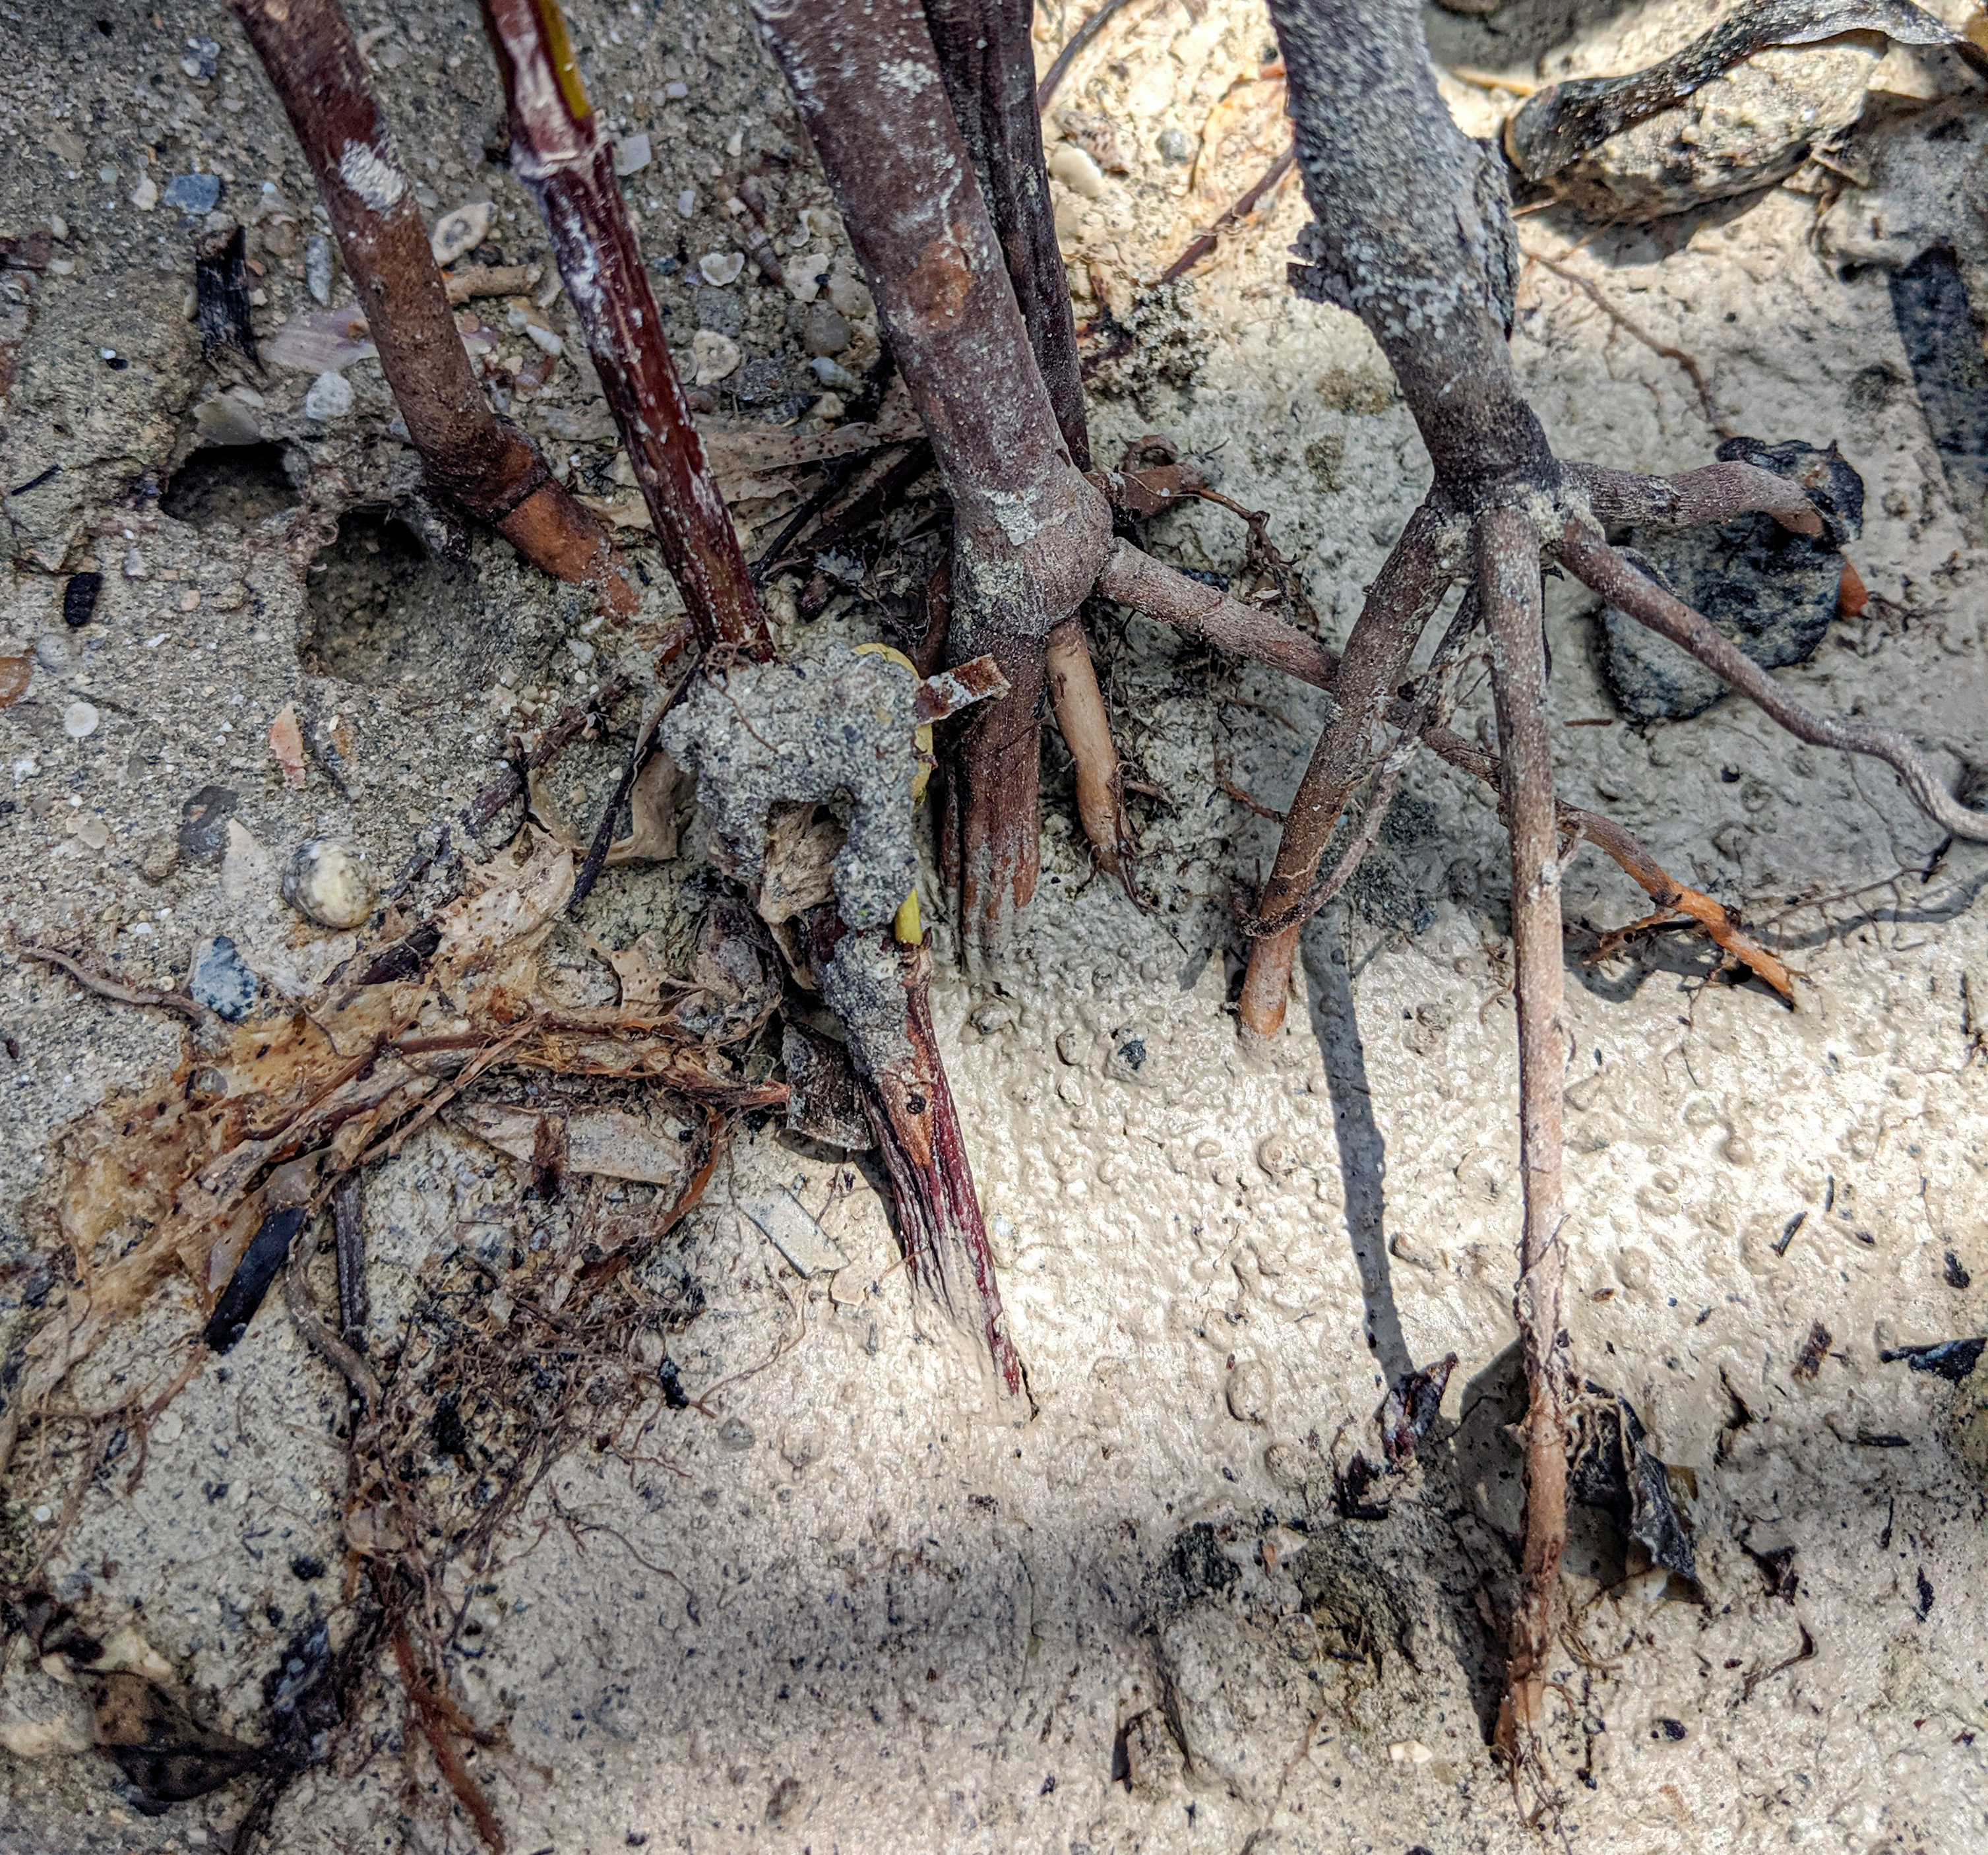
In workshop #2, we followed an postdoc that was studying mangrove roots. We went out to collect samples right by next to the ocean and just drive back to lab. She used agar gel to put the roots in and sliced them into 50um width slices and used confocal microscopy to image them.


Workshop #3
In this workshop, we were able to be a little more hands on and created slides with leaf indentations on them to study the structure of cell walls on the top and bottom of the leaf.
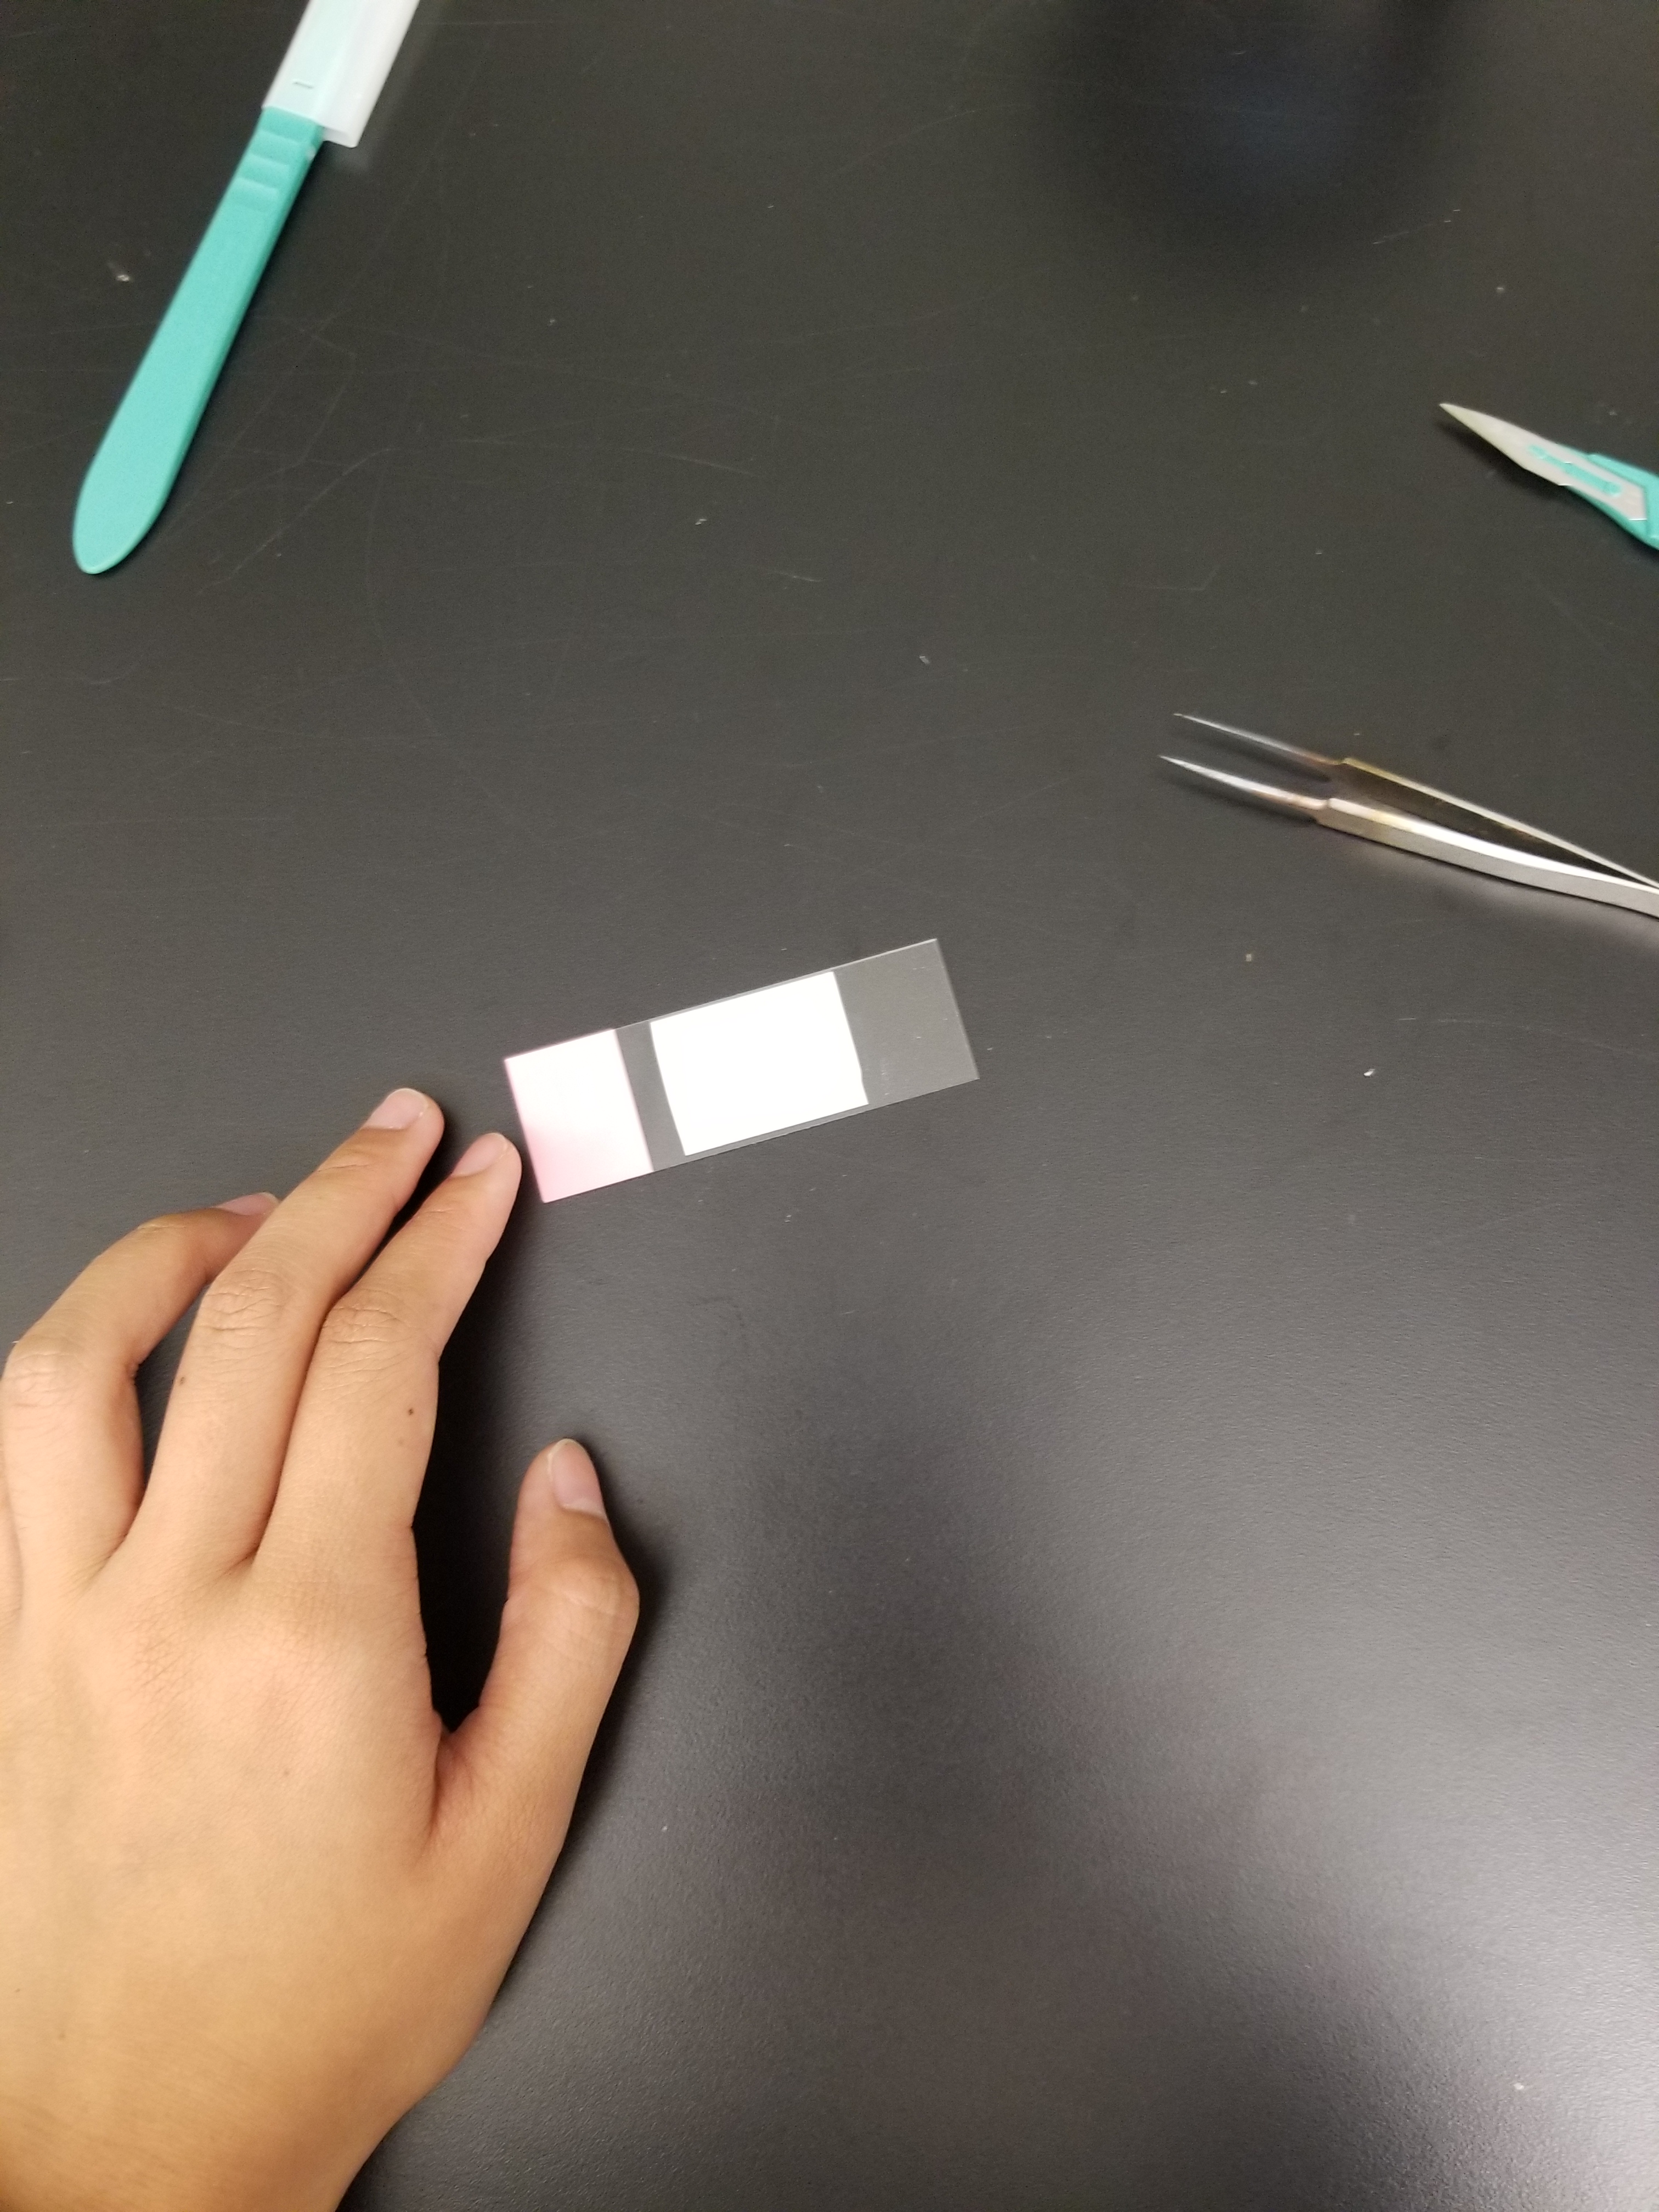
- Put double sided tape on glass slide.
2) Slap on leaf onto the double sided tape and press against it ensure that the template of the leaf is stuck on.
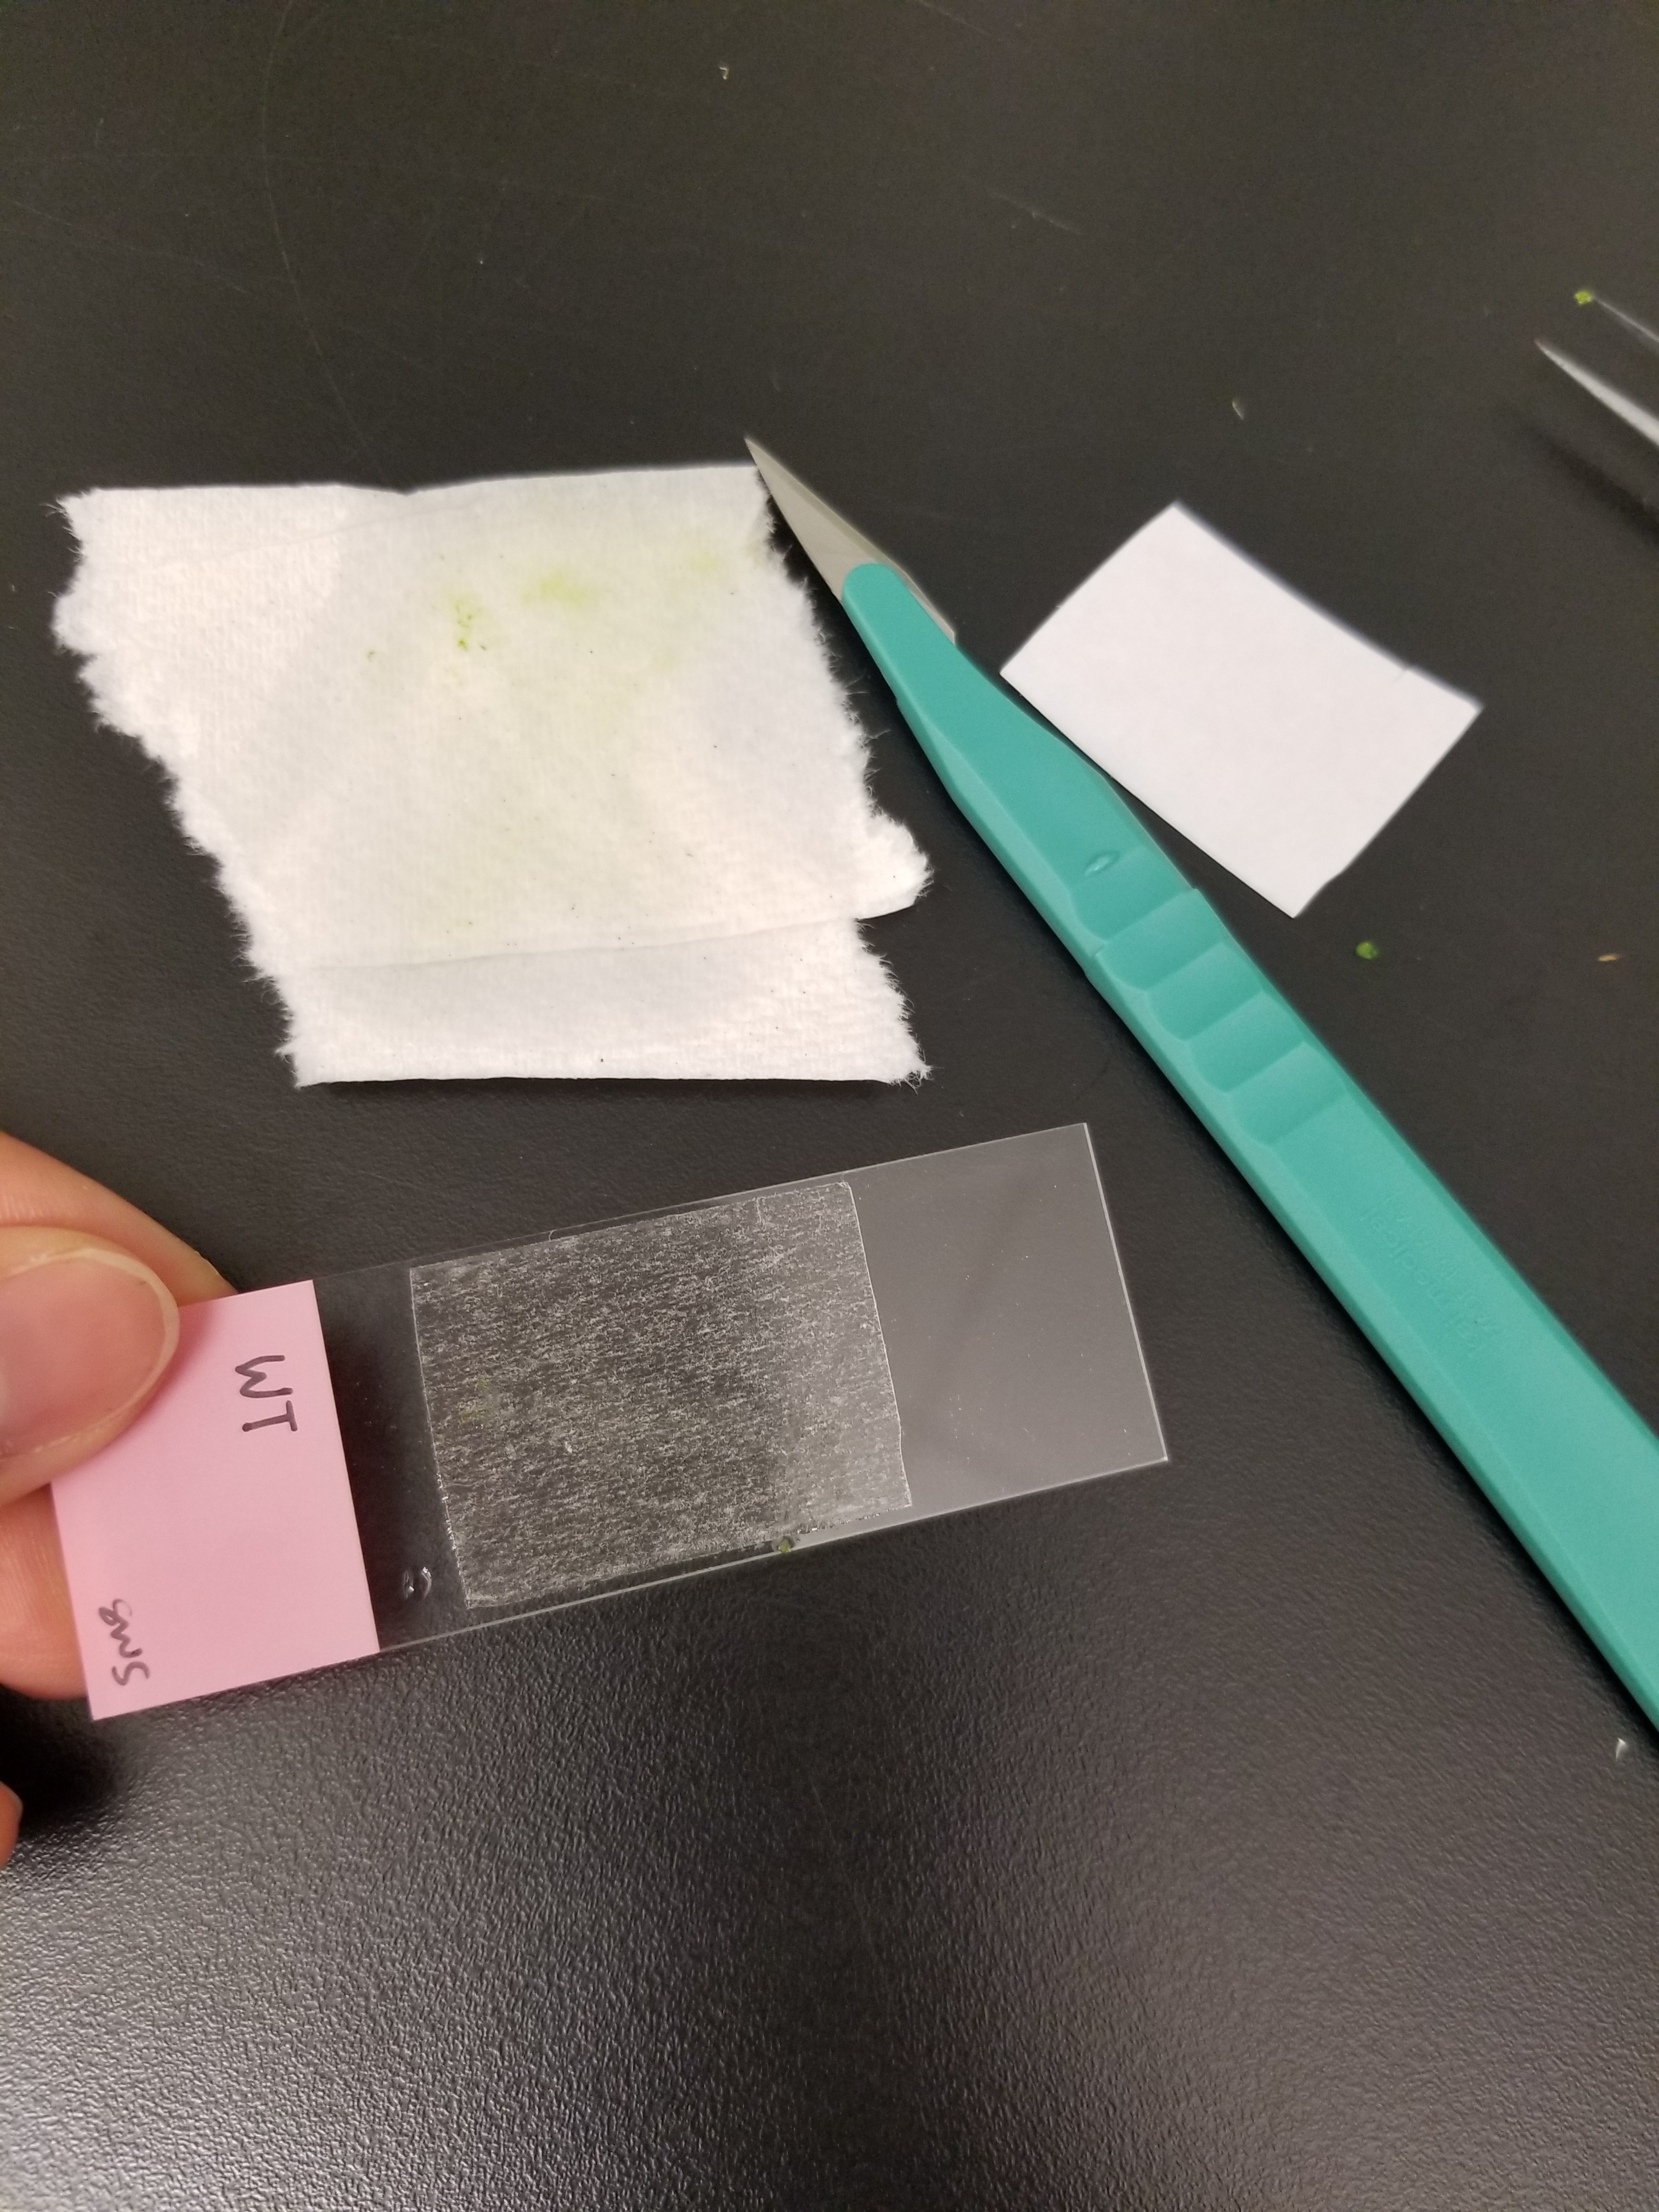
3) Scrape off the leaf with the blade.

4) Look through the microscope.
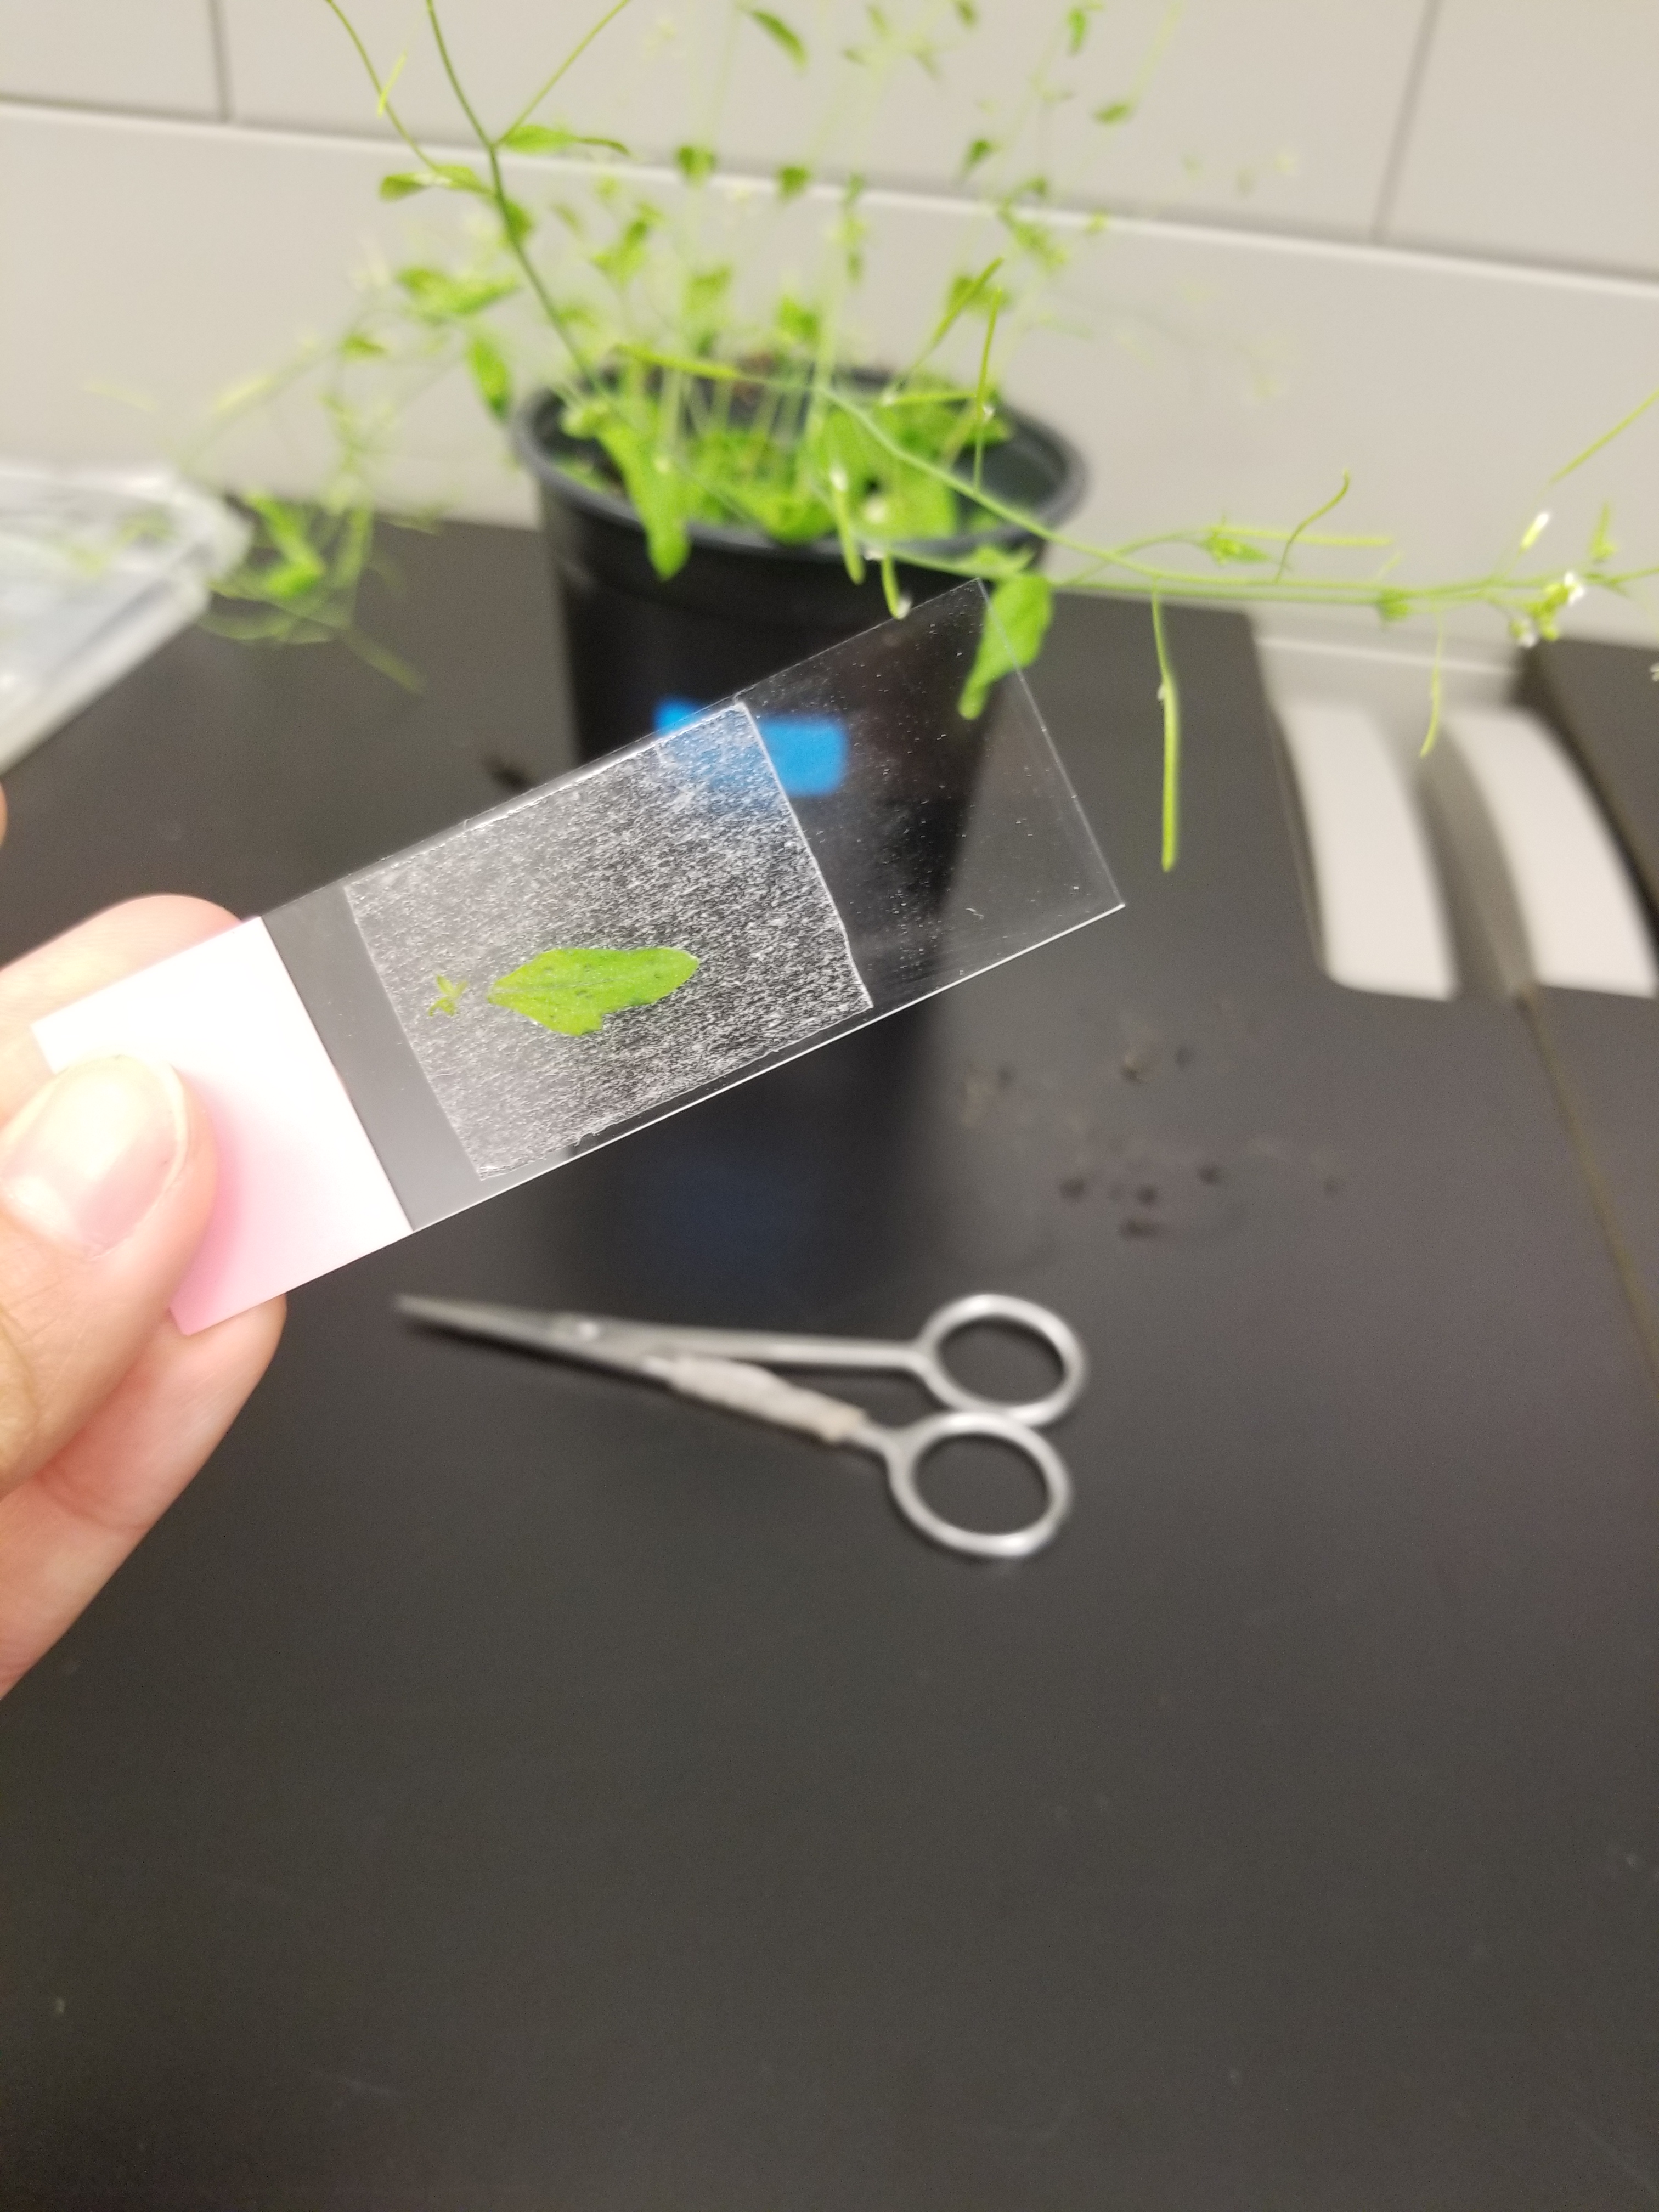
The double sided tape was a poor choice because it left a lot of distracting creases as seen in the image above. However, we were still able to see the stomata (red arrow), cell walls (yellow circle), and trichomes (green arrow).
Workshop #4
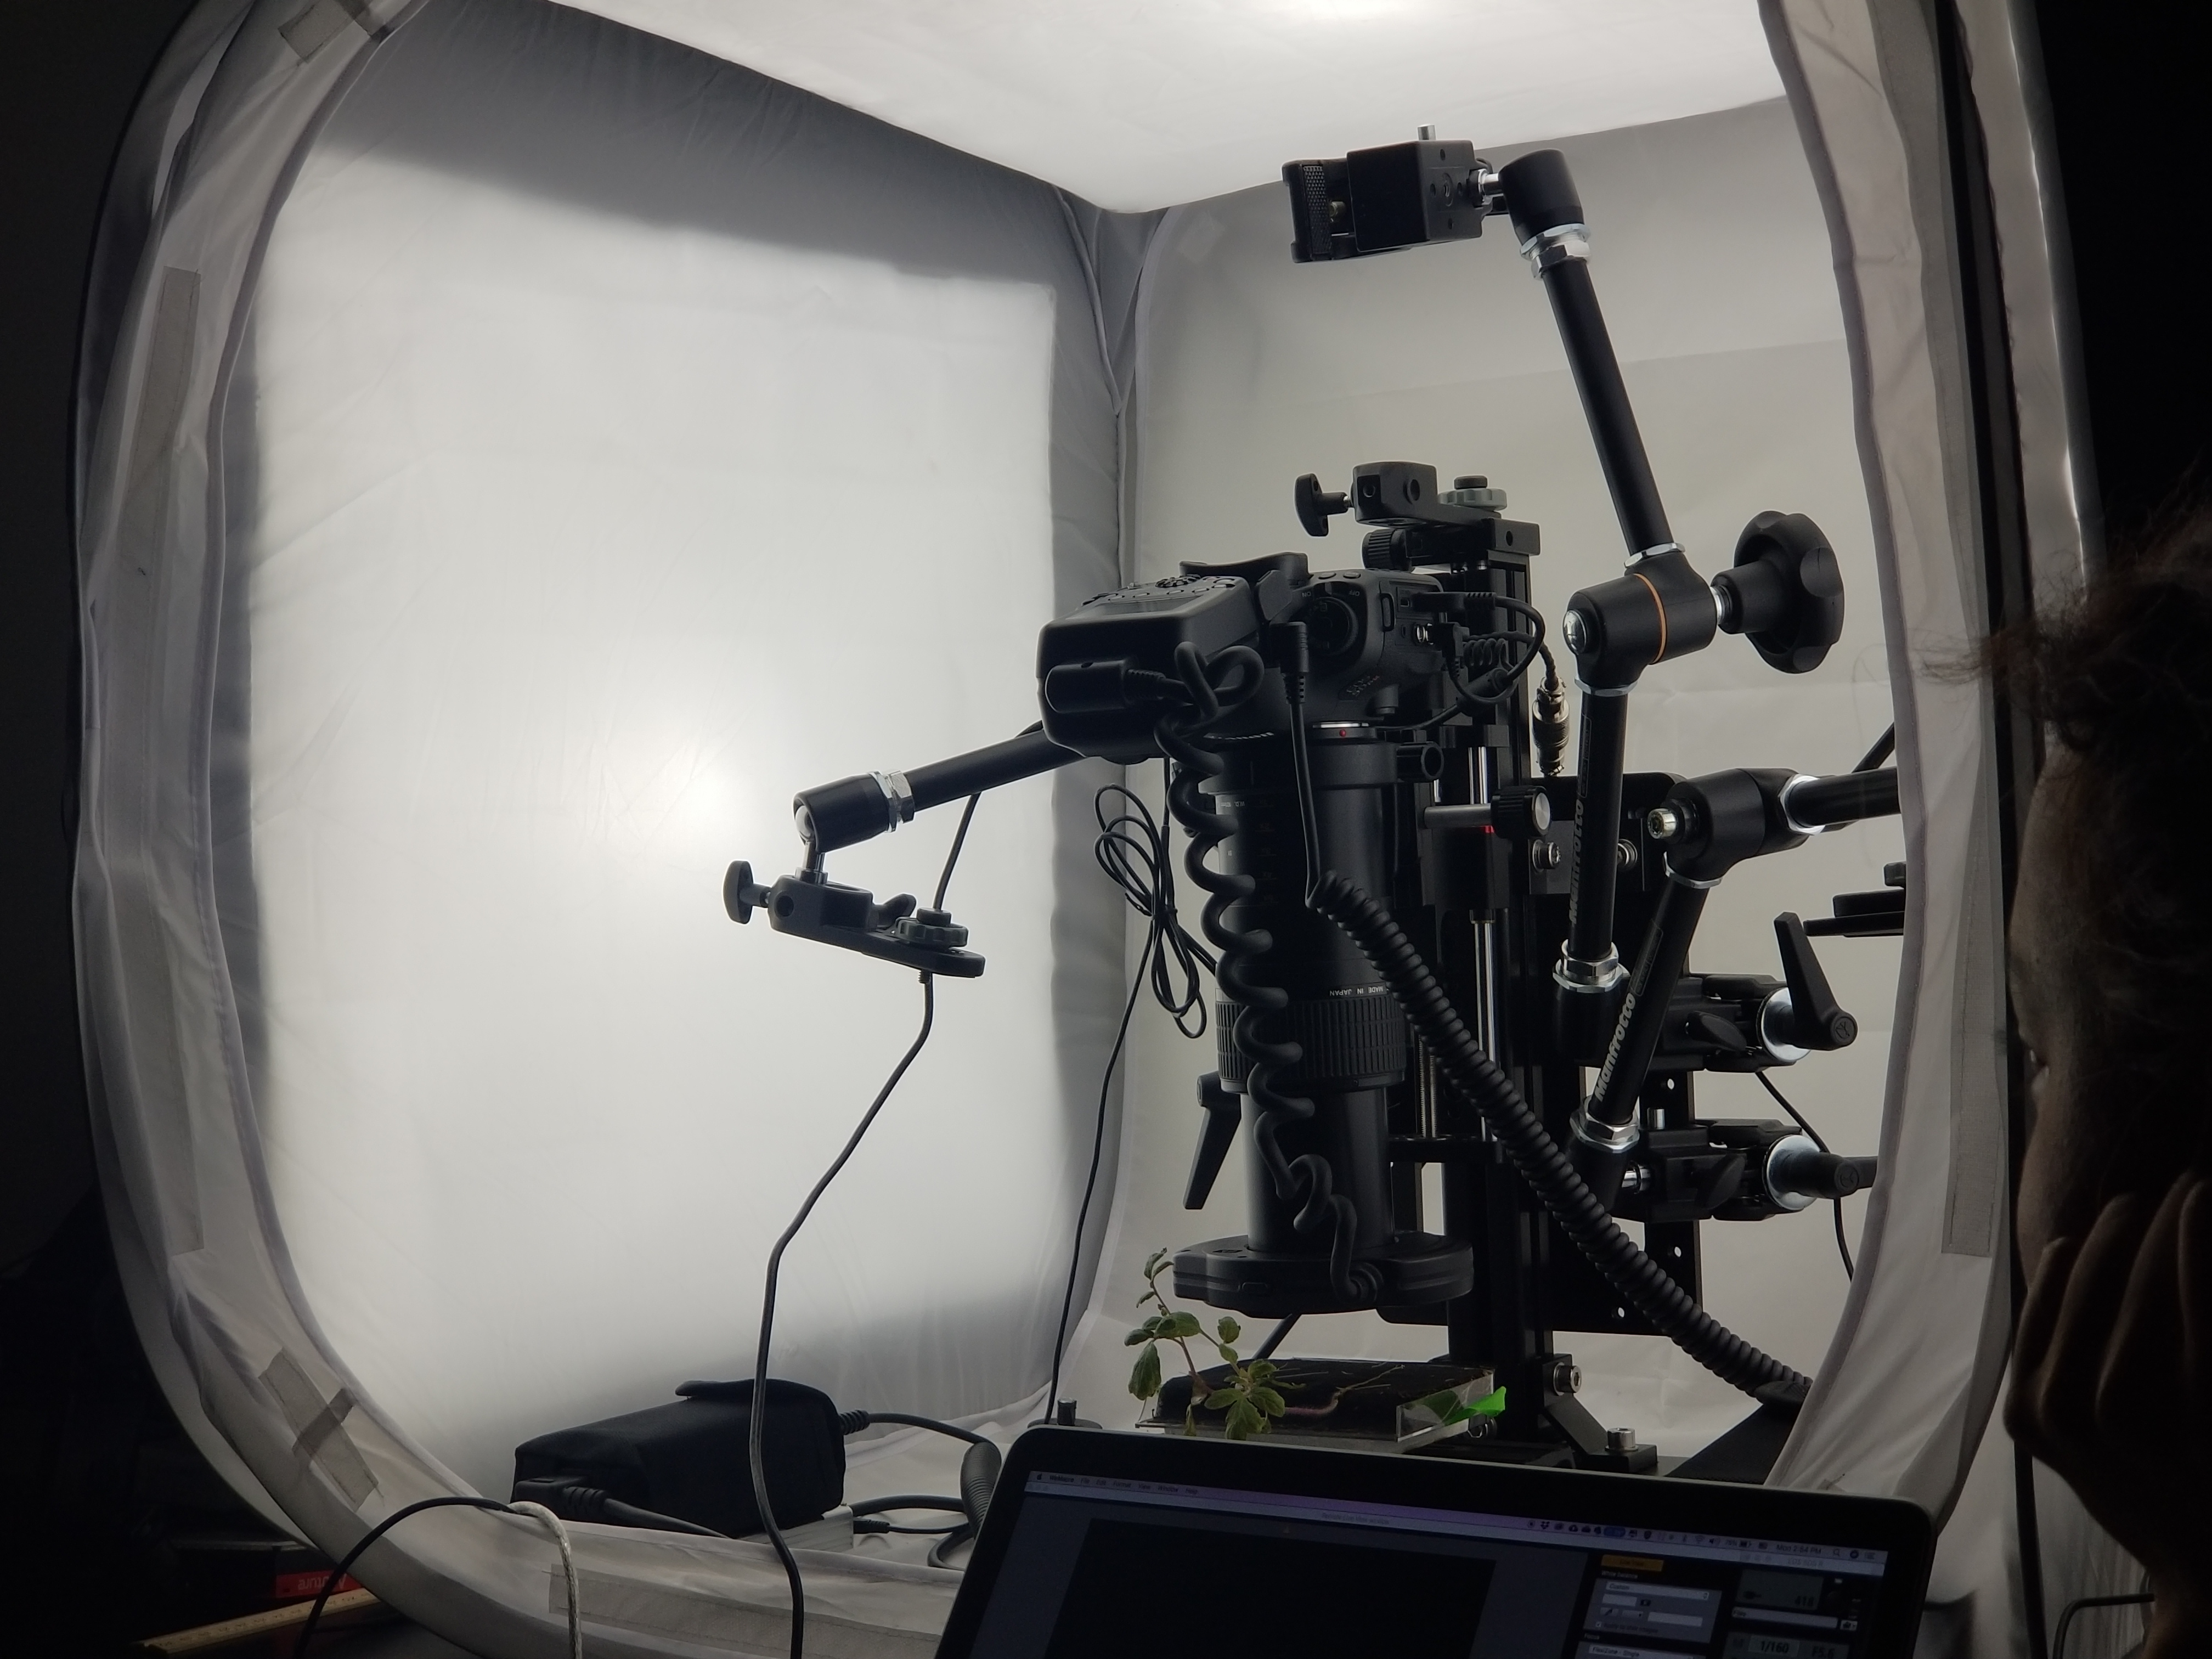
Last but certainly not least, a PhD student showed us how he combined his love for science and photography. This particular PhD student used photography equipment to create an amazing photography/videography system that costs significantly less than whats on the market by large microscopy companies.
He showed us the kind of images and videos that he was able to look at how plants regrew their roots after cutting the roots. He also showed us that thrips (the bug below) eats the roots of the plant and not just what is seen above ground.

Pictured above: Thrip near root hairs of the plant.
